


Growing peppers in Canada sounds like a tropical fantasy, but it comes down to three things: starting early indoors, keeping seedlings warm, and not rushing them outside. Here's the exact process we use at Casa Verde, from seed to harvest.
Looking for seed first? Browse pepper seeds Canada: sweet peppers, hot chilies, and rare heirlooms selected for short seasons.
Step 1: Choose your varieties
Days to maturity matters more than anything else in a Canadian season. Sweet and mild varieties ripen fastest; superhots need the longest runway and benefit most from an early start.
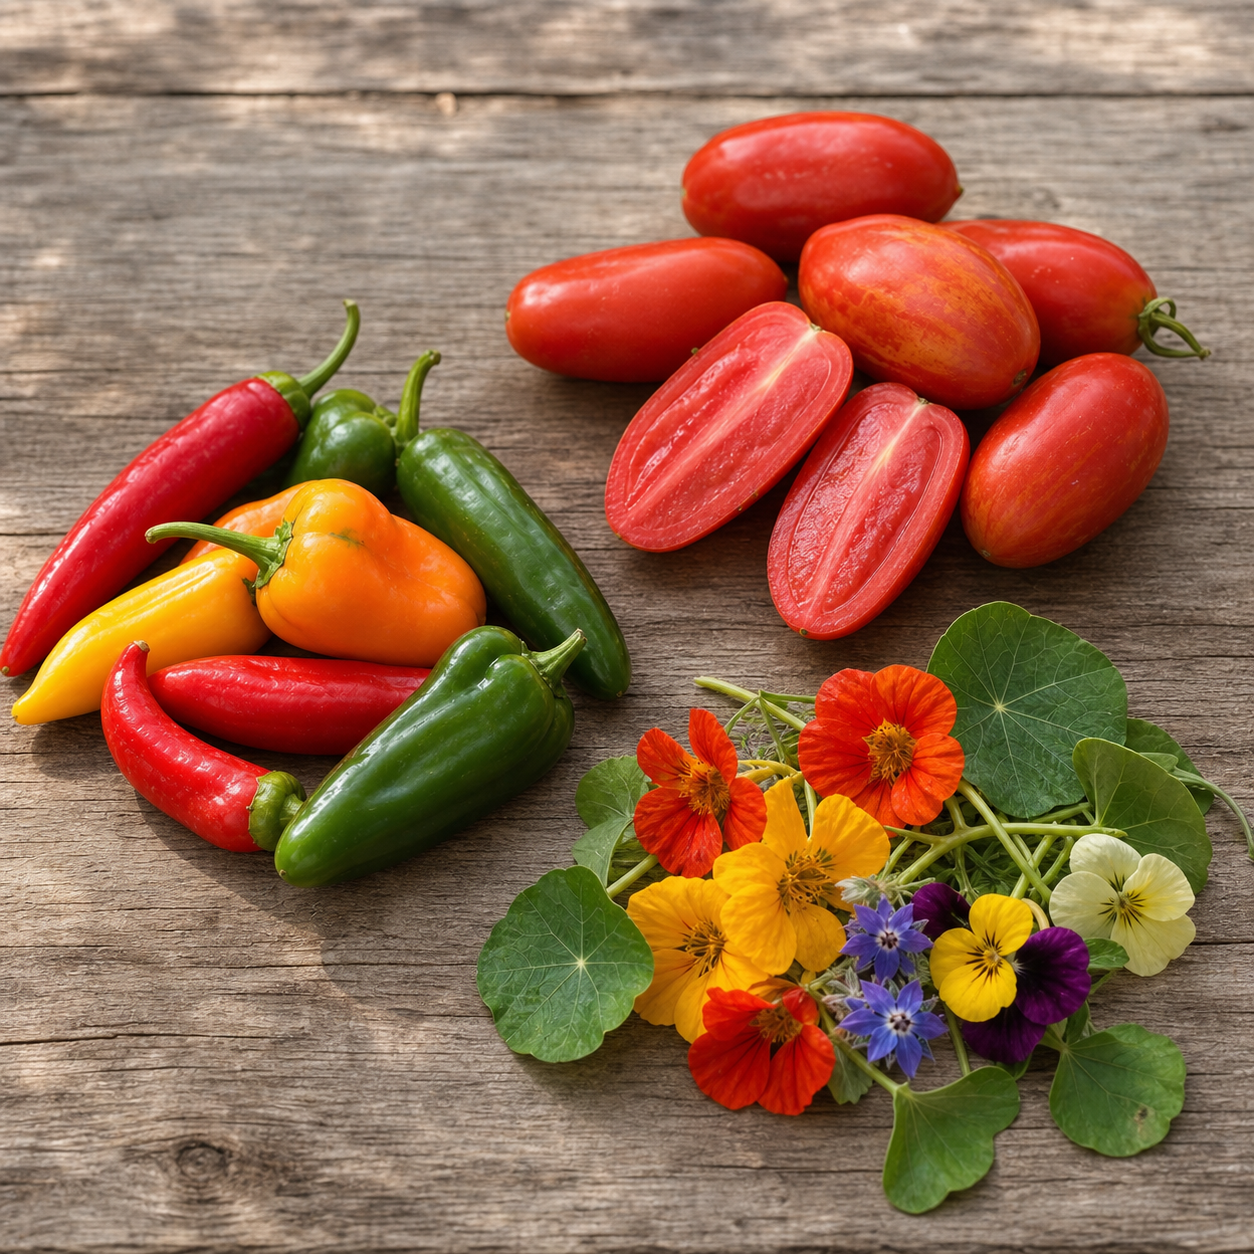
- Sweet: Bell, Corno di Toro, Lipstick
- Mild to medium: Jalapeño, Poblano, Hungarian Wax
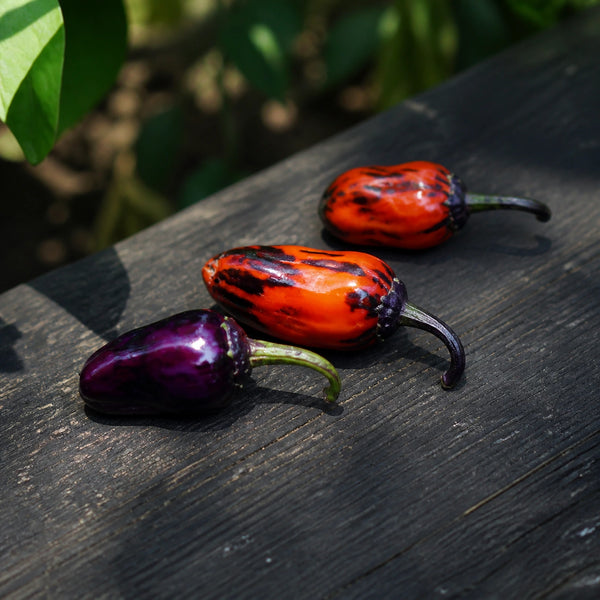
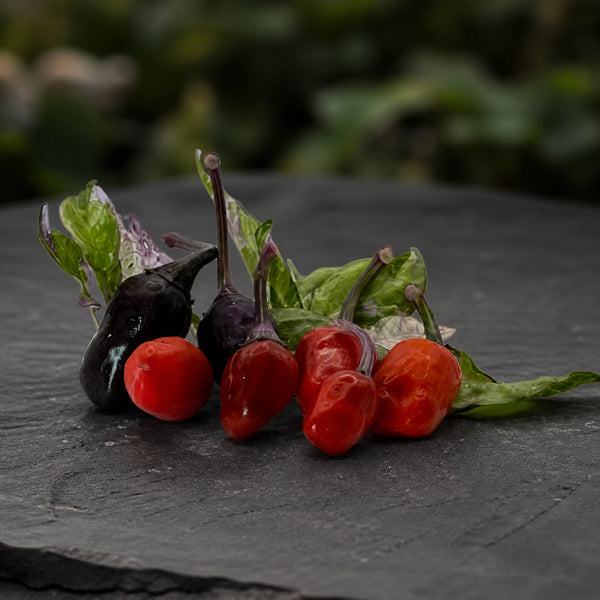
- Hot heirlooms: Habanero, Cayenne, Rocoto, Charapita
Find peppers for your garden
Skip the guesswork — start from what your garden needs:
Step 2: Start seeds indoors
Peppers need a long, warm head start — there's no direct-sowing them in most of Canada.
- Start 8–10 weeks before your last frost (February–March for most of the country).
- Sow in a seedling tray with a humidity dome.
- Hold soil temperature at 26–30 °C — a heat mat is the single best investment for pepper growers. Peppers need bottom warmth to sprout reliably.
- Expect germination in 7–21 days depending on variety; superhots take the longest.
Casa Verde tip: no heat mat? Set trays near a heat vent or on top of the fridge until they sprout. Peppers hate cold feet.
Step 3: Give them serious light
Once seedlings emerge, light matters more than warmth. A sunny window usually isn't enough in a Canadian winter.
- Run T5 or LED shop lights 14–16 hours a day.
- Keep the light 2–3 inches above the canopy, raising it as plants grow.
- Leggy, stretched seedlings mean the light is too far away — move it closer.
Step 4: Pot up
When the first true leaves appear, move seedlings into 3–4 inch pots with a rich, airy mix.
Our potting mix:
- 50% coco coir or peat
- 25% compost
- 25% perlite
- A handful of worm castings or a pinch of mycorrhizae per pot
Step 5: Harden off
Seedlings raised indoors will sunburn and windburn if moved outside all at once. Take 7–10 days before transplanting:
- Start with a few hours outdoors in a sheltered, partly shaded spot.
- Increase sun exposure and time outside each day.
- Avoid strong wind and full midday sun for the first few days.
Step 6: Transplant outdoors
Wait until nights stay reliably above 12 °C. Peppers set back by cold take weeks to recover — patience here pays off at harvest.
- Full sun: 6–8 hours minimum.
- Space plants 12–18 inches apart.
- Feed lightly with a balanced organic fertilizer (5-5-5).
- Mulch around the base to hold soil warmth.
- Stake taller varieties — some pass 3 feet.
Casa Verde tip: bury the stem slightly deeper than it sat in the pot to encourage a stronger root system.
Step 7: Pollination and fruit set
Peppers self-pollinate, but movement helps. Outdoors, wind and bees do the work. Indoors or in a greenhouse, give plants a gentle daily shake, run an oscillating fan, or move pollen between flowers with a soft paintbrush.
Step 8: Harvest
Most peppers ripen from green to red, orange, or yellow — and the longer you wait, the sweeter (or hotter) they get.
- Early varieties: 70–80 days from transplant.
- Superhots: 120+ days — start these earliest.
- Cut with pruning shears rather than pulling; pepper branches snap easily.
From the Casa Verde kitchen: dry your ripe peppers into chili flakes — the flavour depth beats anything store-bought.
Step 9: Save your seeds
Select the best fruit from your healthiest plants, scrape out the seeds, dry them fully on a plate for a week or two, and store them in labelled paper envelopes somewhere cool and dry. Note that only open-pollinated and heirloom varieties grow true from saved seed — and peppers cross readily, so isolate varieties if purity matters to you.
Want a garden that covers the whole spectrum next season? Build a sweet, mild and hot pepper garden with our curated seed collections.
Troubleshooting common pepper problems
| Problem | Symptom | Fix |
|---|---|---|
| Slow germination | Nothing sprouts for 2+ weeks | Increase bottom heat; use fresh seed |
| Leggy seedlings | Tall, weak stems | More light, or move the light closer |
| Curling leaves | Leaves cupping or twisting | Let soil dry between waterings; check for cold drafts |
| No flowers | Lush plant, no blooms | Too much nitrogen — switch to a bloom fertilizer |
| Flower drop | Buds fall before setting fruit | Stabilize temperature; raise humidity slightly |
Plan your Canadian pepper season
Growing peppers here is a small act of rebellion against the frost — and with the right timing and the right seed, it works every year.
Start with our Canadian pepper seed-starting calendar, compare the best pepper varieties for shorter seasons, and use the sweet vs. hot pepper guide to build a balanced garden.
Find peppers for your growing zone, or browse all Casa Verde pepper seeds →